
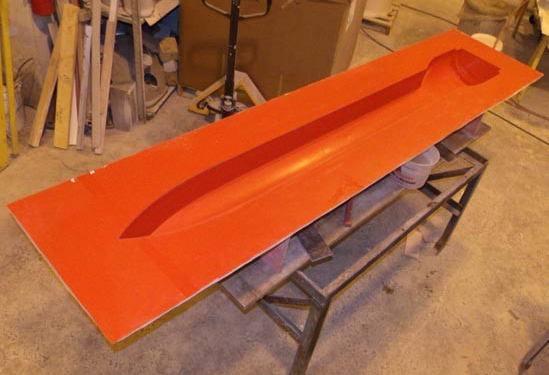
Basic Mold Construction
Prepare the Plug for the mold
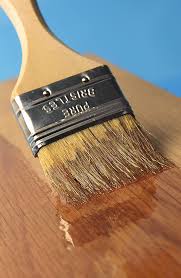
- Wax the plug with a mold release wax (LBI TR-104). 6-8 coats are necessary, buffing after each coat.
- Allow the wax to fully cure (20 min.) between each coat.
- To ensure a proper release of the mold, several thin coats of PVA, can be added.
Building the Mold
- Begin by spraying 2 coats of Tooling Gelcoat (LBI 304) at least 15-20 mils thick. Let the gelcoat “gel” in between coats. This means that the gelcoat will be tacky, but will not come off onto your finger when touched.
- Once 2nd coat is cured to this point, apply the backup laminate of .75oz mat (LBI 7550) or 1.5oz mat (LBI 1550) with (LBI 302 ISO Polyester Resin) or (LBI 33540 Tooling Resin). backing layer of .75oz Mat. This layer is crucial to stabilize
the tooling gelcoat. - Allow the backup laminate to cure 3-4 hours at 70° F or higher before applying the next layer. Longer cure time is required for temperatures below 70° F.
For LBI 302 a common layup schedule will be:
Step 1: Spray 15-20 mil LBI 304 Tooling Gelcoat
Step 2: Spray 2nd coat 15-20 mil LBI 304 Tooling Gelcoat
Step 3: Apply layer 1.5oz mat with LBI 302
Step 4: Apply 2 layers of 1.50oz mat with LBI 302
Step 5: Apply 2 layers of 1.50oz mat with LBI 302
Repeat Step 5, until desired thickness has been achieved.
For LBI 33540 a common layup schedule will be:
Step 1: Spray 15-20 mil LBI 304 Tooling Gelcoat
Step 2: Spray 2nd coat 15-20 mil LBI 304 Tooling Gelcoat
Step 3: Apply layer 1.5oz mat with LBI 302 or 901 resin
Step 4: Apply 3 layers of 1.50oz mat with LBI 33540
Step 5: Apply 3 layers of 1.50oz mat with LBI 33540
Repeat Step 5, until desired thickness has been achieved.
Mold Supports and Stiffeners
- While the mold is still attached to the plug, begin constructing a support for the mold. This support can be made out of wood or metal. Bond supports and stiffeners to the mold with fiberglass tapes (appropriate for strength required).
- The purpose of mold supports is to keep the mold from distorting or flexing during the lay up process.
Popping the Mold and Breaking it in
- Use polyethylene wedges evenly and carefully applying pressure to release the mold from the plug. Last chance to make any modifications to the mold surface before break in and the lay-up of the first part.
- To break in the mold, wet sand and buff to achieve a smooth glossy surface. – apply 6-8 coats of mold release wax (LBI TR-104) and buff each time. You should be looking at a very glossy surface. Refer to step 5 in plug construction.
- Spray a mist coat of PVA for the first few parts molded to ensure release.
- You are now ready to begin making parts with your new mold.


Hi my name is Virgil Calvin I’m really interested in working for your company I have a lot of experience in fiberglass molding work etc .
Hi Virgil,
You can reach out to us at 860-446-8058 for information on any open positions with us.
Thank you!
LBI